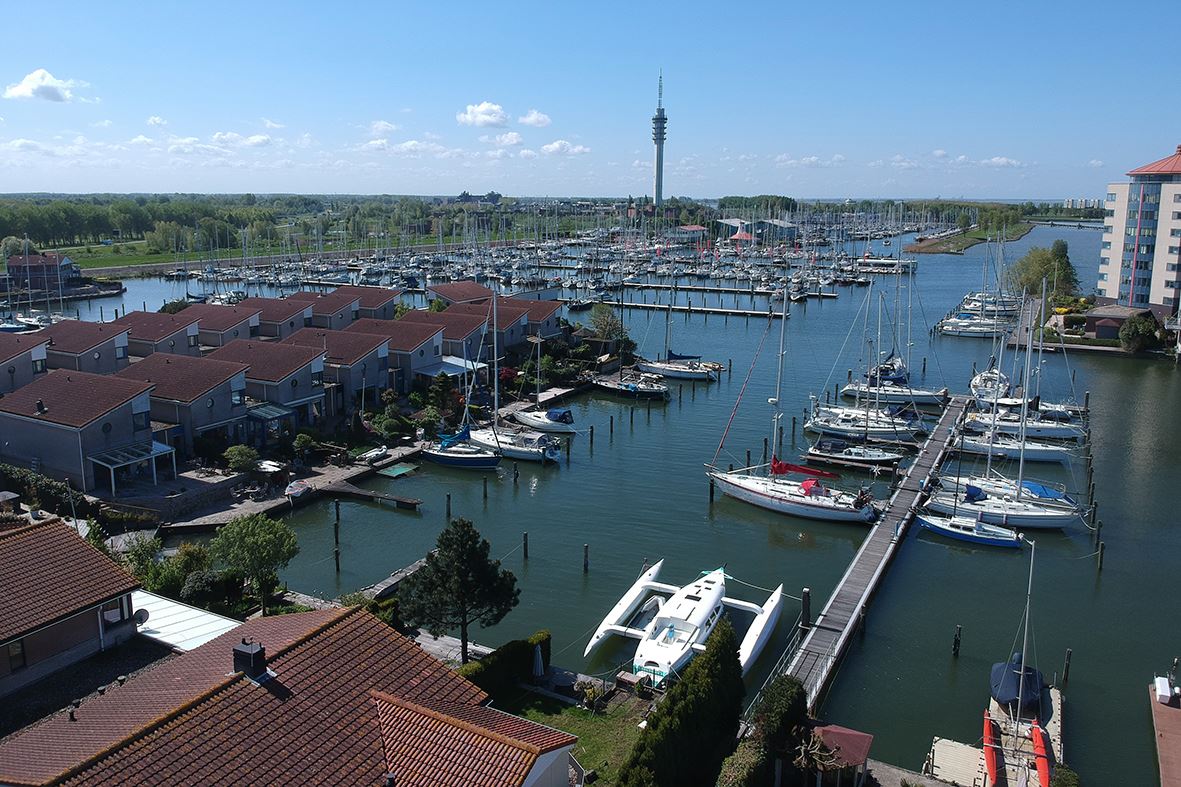
Fram appears in her full glory

October 16, 2017

Now the beams are finished (fairings still to do but on a later moment) it becomes high time to finish the paintwork on the outside of the hull.

See the updated gallery for the latest photos.

20170820_210320_45020170924_145323_450

While the boat is still lying at an angle to the ground this is also a good moment to provide the hull with 5 layers of Coppercoat. First the port half and after turning the boat on her other side the starboard half.

20170813_154229_45020170824_001553_450

And finally the time has come to break down the temporary insulation shed …

20170928_191236_450

and show Fram in her fullest glory 🙂

20170930_174354_45020170930_174557_450


Unfinished business

March 8, 2017

While I was looking for an image of the infusion around the daggerboard case, I discovered that the photo gallery about the deck laminate and vacuum infusion has not been finished. Sorry about that. I now have added a lot of photo’s about that event.

You can find the gallery here.

After I had turned the hull I wanted to quickly begin fairing work on the deck and in the cockpit. Yet there were still some details that need to be completed.

In the previous post I have described the work around the deck hatches. The photo’s are here.

Furthermore moreover:

20170304_133850_1000450

After installing the engine I definite closed the cockpit floor. If it’s ever necessary to lift the engine again I will have to cut out a new hole with the jigsaw.

20170114_163309_1000_450

Shaped the cockpit coaming ….

20170304_133822_1000450

…. finished the laminate on the cockpit coaming in front of the beam bulkhead and released the upper folding strut recess in the aft beam bulkhead.

20170114_163333_1000_450

20170114_172902_1000_450

The same for the forward beam bulkhead. Until now this recess has been closed off for the purpose of the vacuum infusion of the external laminate.

20170304_133710_1000_450

Completing the ending of the cabin roof.

20170304_133656_1000_450

Completing the inside of the bridge deck, designing a system to store the two acrylic washboards inside the bridge deck and mounting a molded glasfibre U-section for the washboards.

20170305_181149_1000_450

Completed the base for the sliding hatch.

20170304_133547_1000_450

External laminate for the anchor chain tube.

20170304_133623_1000_450

20170219_130747_1000_450

Determining window size, making the molds for them and completing the window cut outs.

Furthermore, making a mold to find back all the HD inserts in the deck which will be covered by paint and thus not visible anymore, finishing the forestay chainplate, finding back and finishing all drain holes, etc, etc.

But finally all these details (at starboard side, there is still a port side to do) are completed now and I finally could start the fairing process for cockpit, deck and cabin roof.

20170305_181535_1000_450

20170305_181447_1000_450

… to be continued …


Second float is finished.

July 16, 2006

Fairing and painting the second float. Open this album to see the finishing of the second float. Both floats are ready now and waiting for the assembling with beams and main hull.

Floats are ready


Finishing the first float.

May 22, 2004

This photo galery is about the finishing work on the first float.

The wingnet fastening is with an integrated molded lashing rail with a fiberglass tube. Another purpose of this rail is to create three strong deck eyes, as an alternative for bolted SS pad eyes. The extra strength is created by carbon reinforced foam pads, which goes through the hull and are laminated to the inside, the middle one also in the shroud bulkhead.

Also the making of two deck hatches (with invisible hinges) and after all the glassing is done, the final post curing of the whole hull before the fairing goes on.

The fairing and sanding turned out to be a real investment in learning time and finally succeeded by dogged perseverance. It’s the last 300 gram of fairing compound that required the maximum effort.